Mclaren M23 WIP

Mclaren M23 WIP

Sunday, December 13, 2020

HG Zaku II F2 #2

Pre-shading applied on parts with Gaia 071 white-grey, diluted with thinner 1:3, with PS 289 at minimum MAC setup, on top of the original 1200 surface primer to create contrast.


Add some details with plastic sheet.


Wednesday, December 9, 2020

HG Zaku II F2 #1

Kit is from around 2010, the design has a relative small head and make the overall body look more muscular. Decals is turning yellow and I will possibly not follow the kit color and decals. 


Although it is a 1/144 kit, some parts still have relatively flat surface and I can use electric pen sander to save some effort on sanding activities. 

Wanted to do something differently in my 2nd gunpla kit, adding some custom panel lines here and there with MAD 0.15 and BMC 0.2 tools. For those areas I did not do well, plan to cut some plastic sheet and cover them later.


Test fit arm and leg, Bandai did a good job on this kit, as always. Arm and leg are using a few parts to connect together, hence it is easy to get them painted separately before assembling. Very considerate design.


Prepared 34 parts for first round of surface primer. These account for about half of the parts for the robot. 
With Iwata HP-CR 0.5mm airbrush, at 25PSI, 2 thin layers of GSI 1200 grey surface primer diluted with Mr color levelling thinner ~1:1.5


Tuesday, December 8, 2020

Fujimi 1/24 Ferrari 355 #3

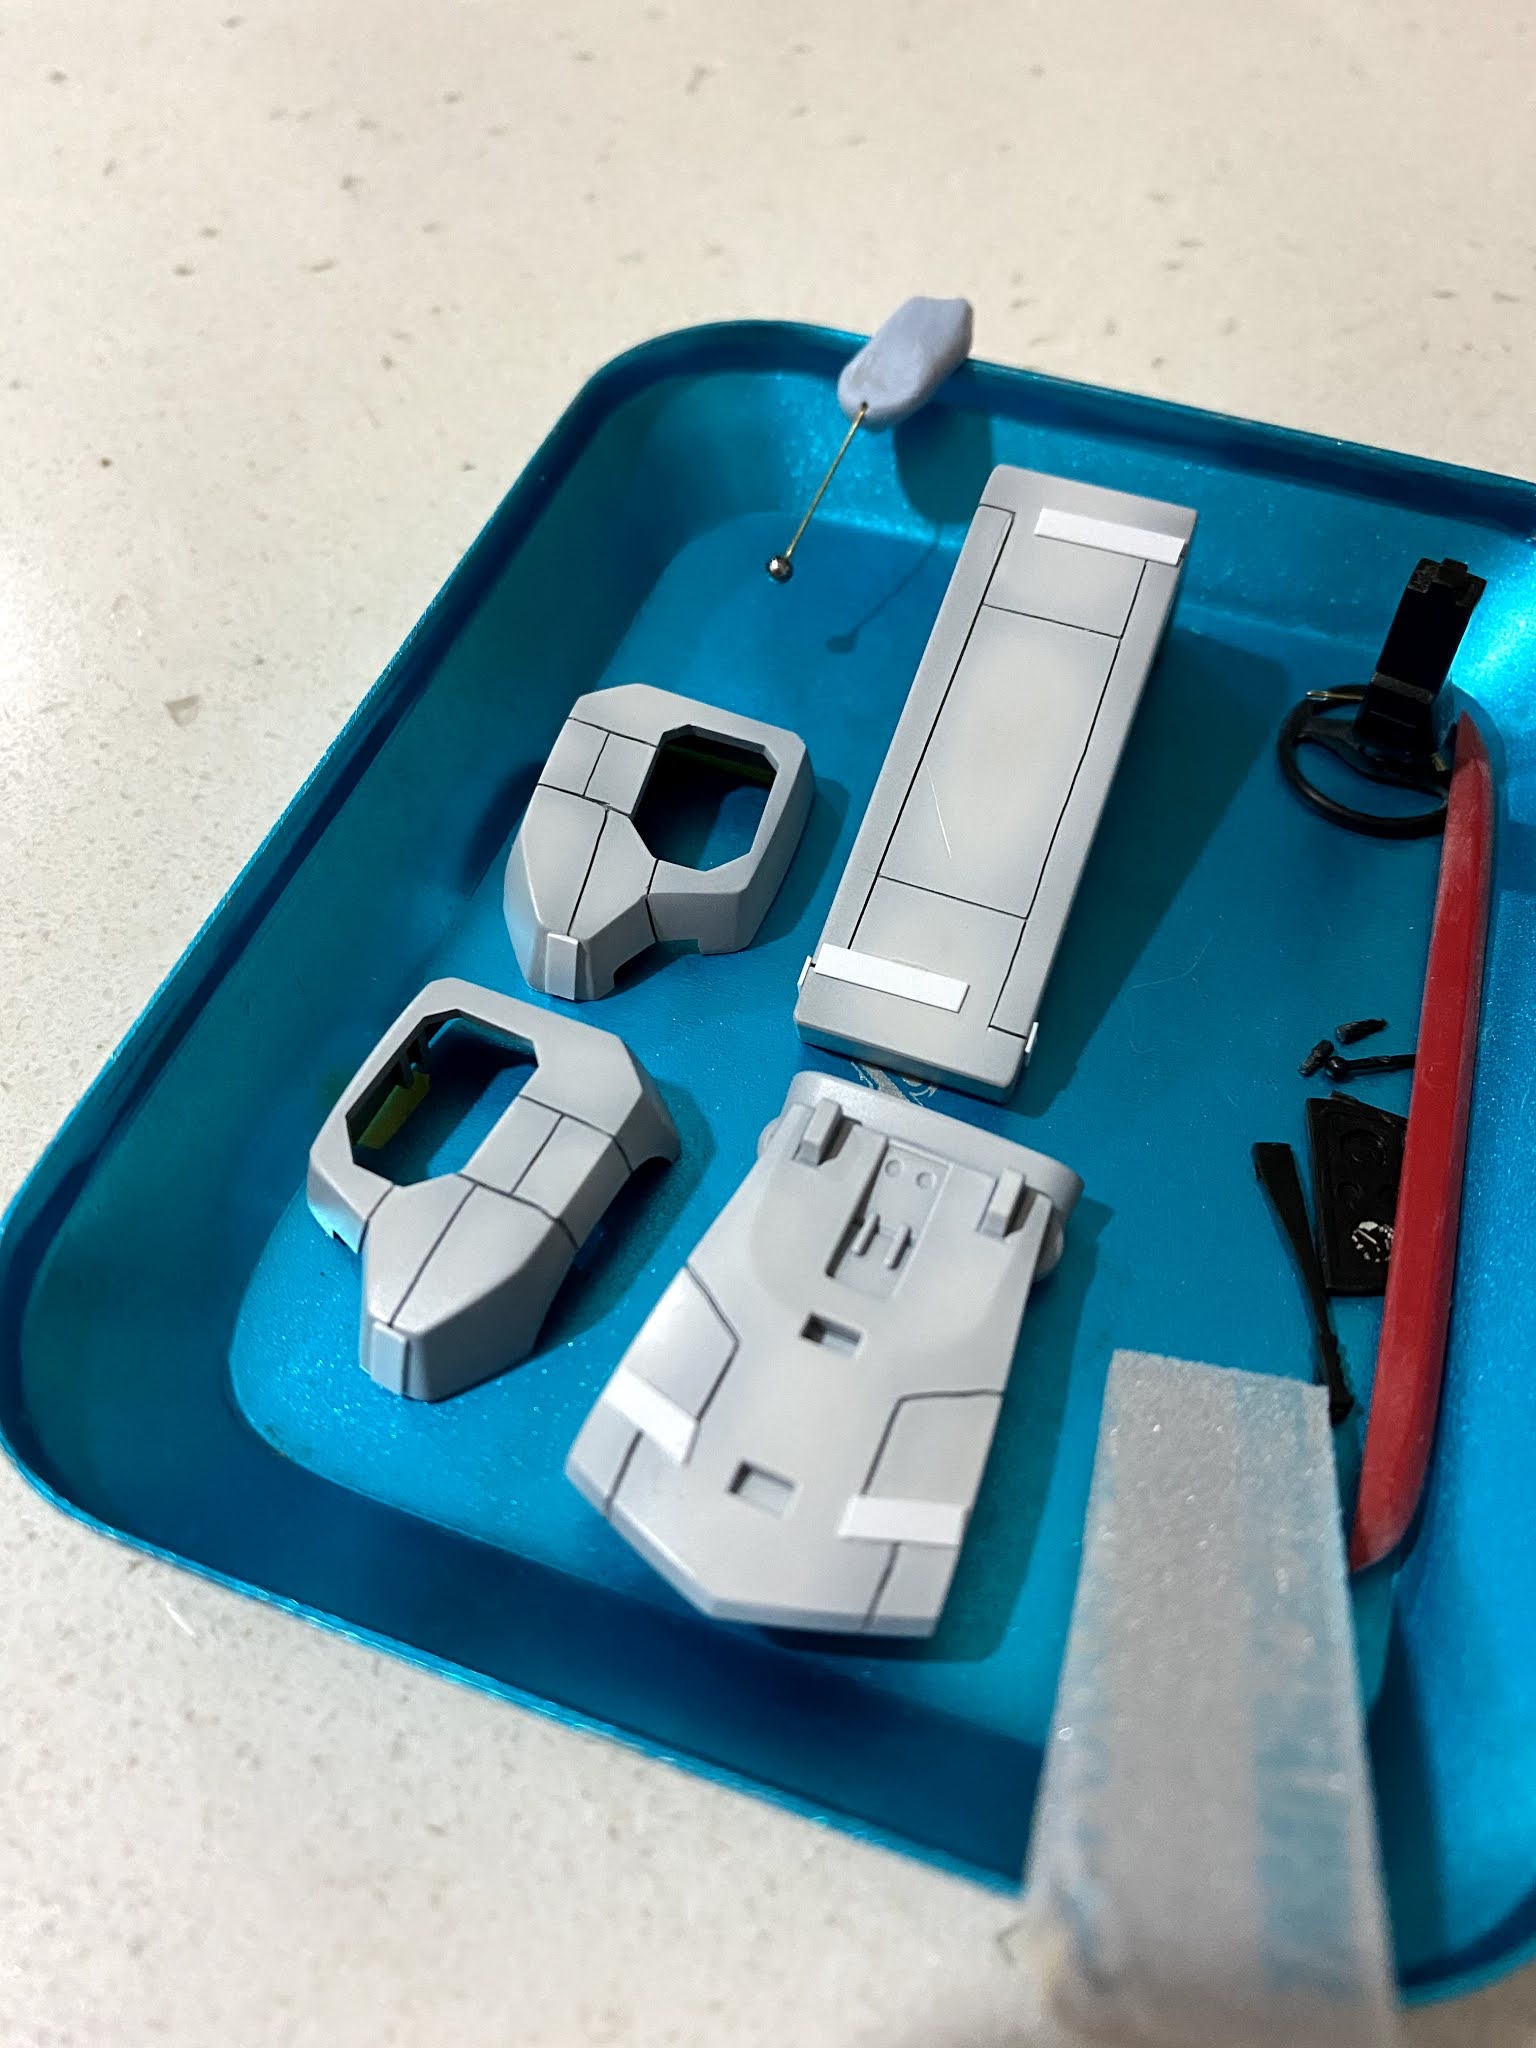
Instead of using the original gear shifter, use a small metal ball and 0.3mm cooper wire to re make the shifter and signal control rod. 


Gaia semi gloss black on the front grille and window frame and inner body shell. However, when remove the masking tap, there is some small area of red paint damage and black spreading. Re apply GSI 158 Italy Red to fix the areas. Final coat of Gaia EX3 on body shell.  


GSI 318 brown and Gaia semi gloss black for cockpit, added PE & safety belts.

Seats and cockpit has a light touch of pre-shading.


The dashboard decals are damaged when I applied, got some dashboard decals from another Fujimi 288 kit and try next time. 


Saturday, November 14, 2020

Fantom EP-4WD accident

One of the Sat in Oct 2020, one of the RC player who ran out to the track, who also ignored the traffic, and here the result of the :


While waiting foe replacement and optional parts to fix the car, decided to open another box and use the parts first. Fantom is live again. It works really well with stock racing firmware from Hobbywing 2.1, and with the the v3 21.5T motor, use 22T pinion instead of the original 21T. 


Half face mask for spraying

Say goodbye to N95 and start with new protection when spraying. 


Wednesday, October 7, 2020

Bodyshell for IF15

Trying Bitty Design liquid mask instead of masking tape. 4 layers of liquid mask with a brush. And sprayed with both Sparmax Flyer SR and Iwata HP-BCS using Faskolor, final coat with a few layers of Tamiya white (spray can) to protect the paints from nitro. 


Thursday, October 1, 2020

Fujimi 1/24 Ferrari 355 #2

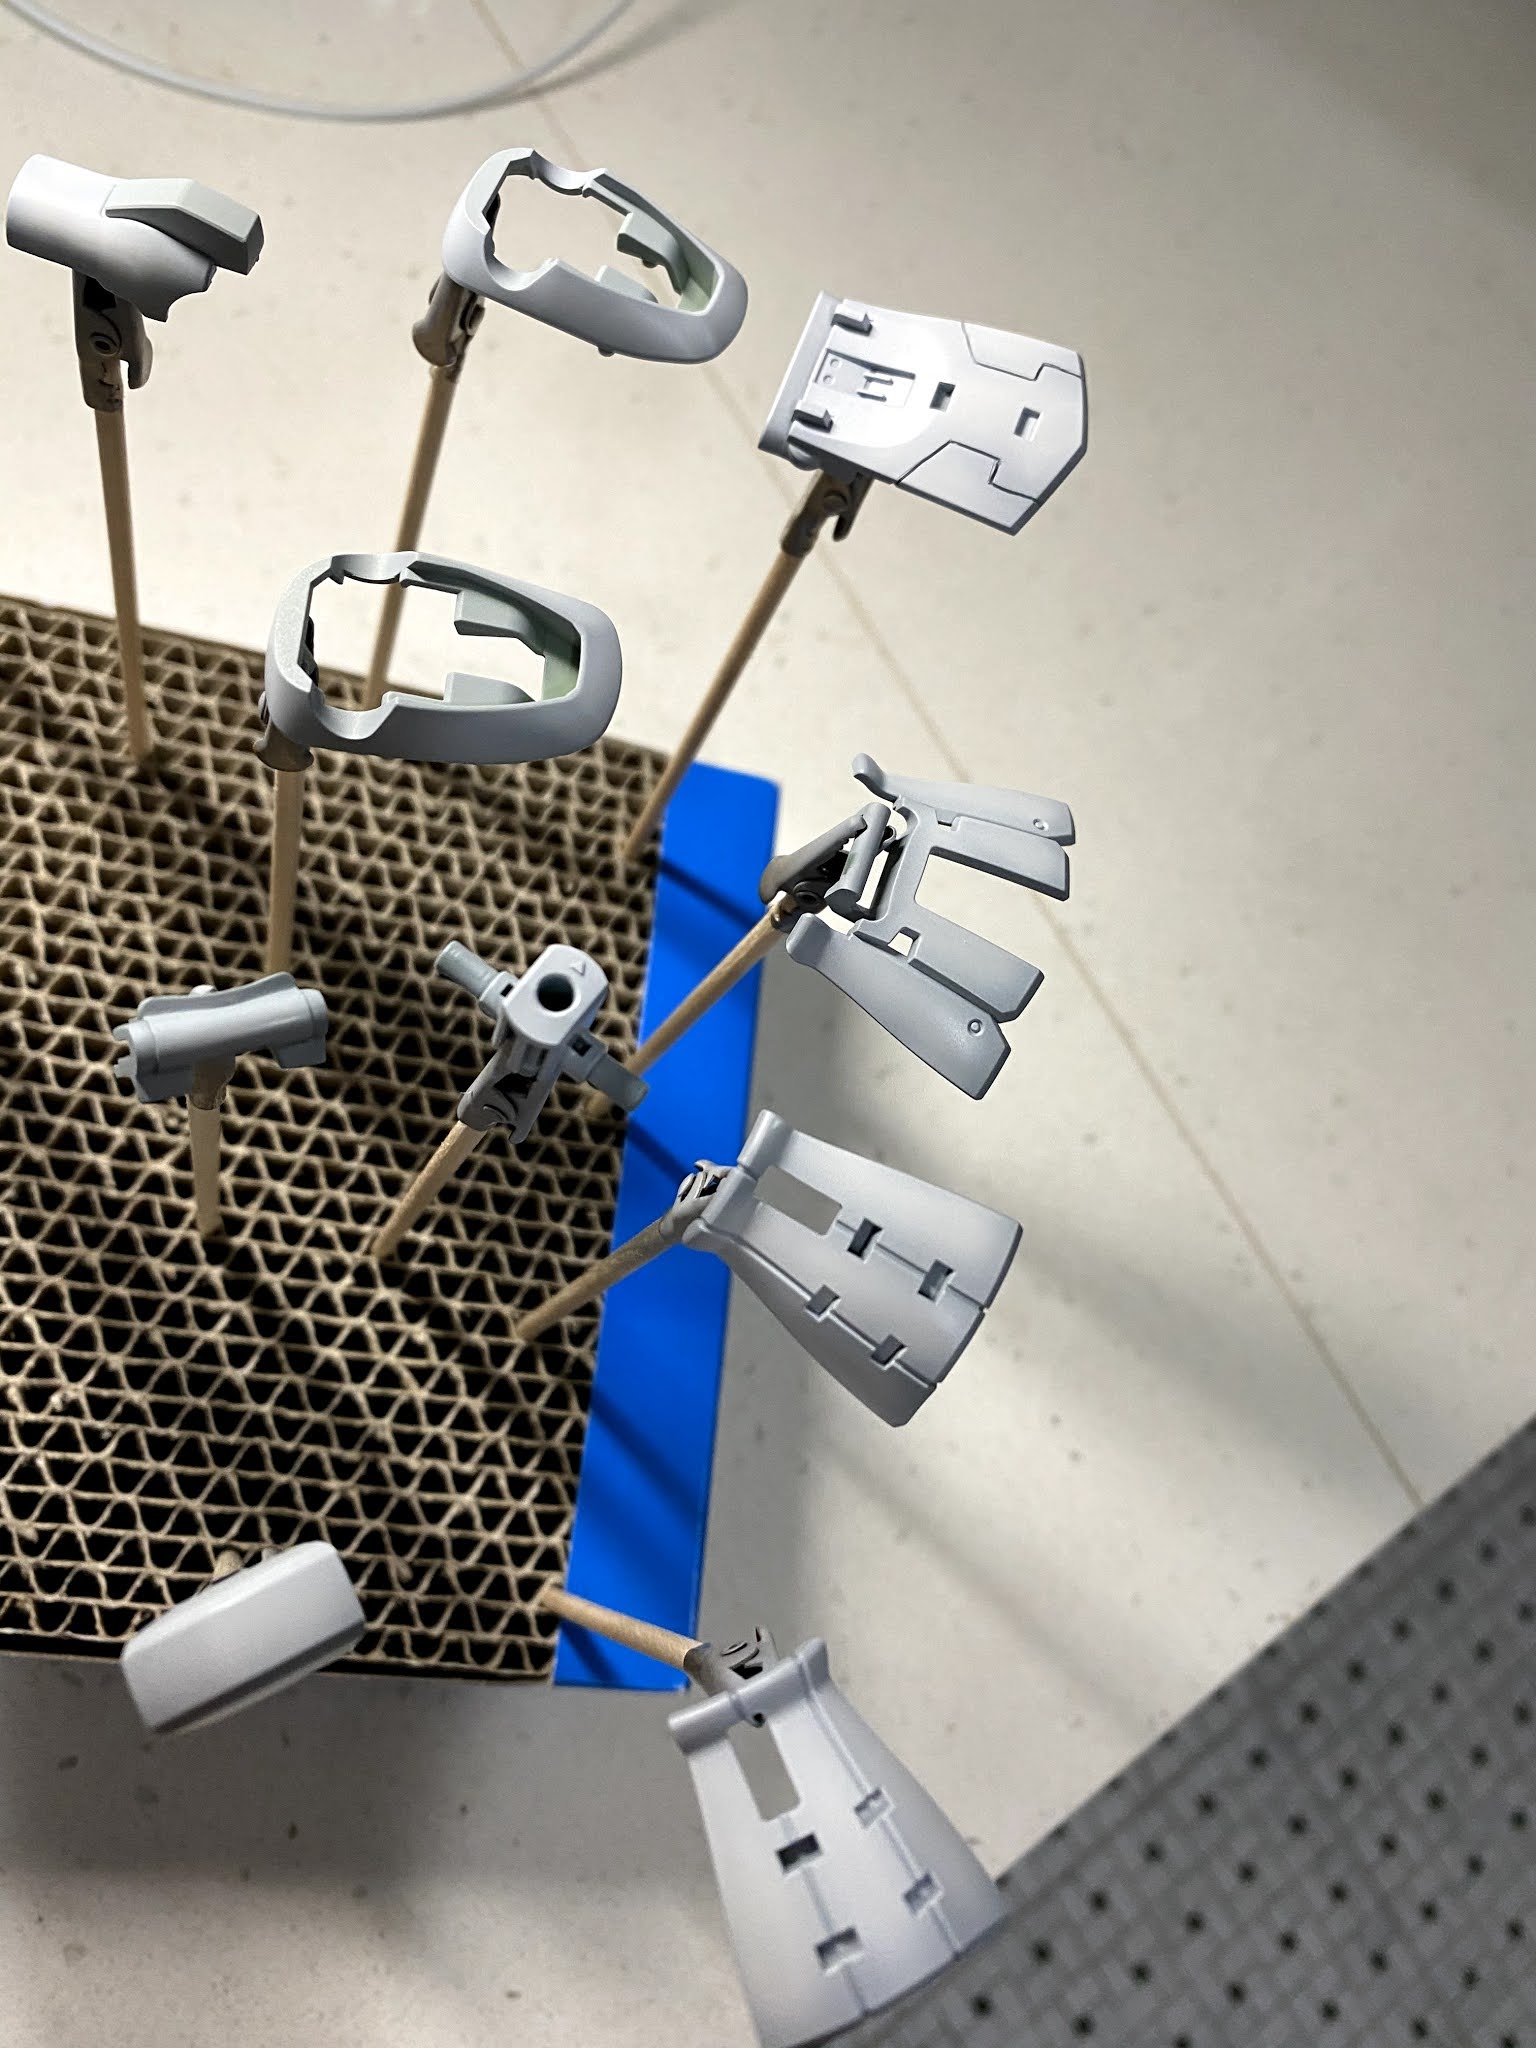
 After working hard on the painting and gloss clear, seems the outcome isn't good. It could be due to the primer isn't so smooth ...

Use GSI paint remover to start over again, 2 bottles in a zip lock bag, wait for 30 mins :
This time use GSI 1500 white primer instead of Tamiya one, diluted 1:3 with Mr Color levelling thinner, with Hansa 381 at 25psi. Surface is much smoother this time. 
Followed by 6 wet layers of GSI #158, diluted 1:3.5 to 4 with Gaia T01/T08 mixture (9:1) with Tamiya HG 3 airbrush at 25psi. 


Fantom EP-4WD body shell


Saturday, September 19, 2020

Kyosho Re-release Fantom

The build is pretty standard and straight forward. Make sure you fit the body shell body wiring the ESC and motors / battery as there are not much space. I did not use the Kyosho brushless system which is designed to mount on the underneath of the upper deck. Use software and thin wires and make use of the limited opening on the upper deck for the wires. 

I have removed 6 links from the chain and it fit pretty well, also fit in a Low CG Lipo which leave enough clearance for the chain on the bottom side. 

Tested run today - it is very stable and can push hard when the pan car is exiting corner !


Removed 5 links from the chain, clearly not enough.
Removed 6 links, just good for initial run-in.
After initial run, the chain is a little bit loosen, which is expected. And it does not leave any mark on the upper deck .... yet. 


When boys see pretty girl ...

The pretty one :


The boys :


Tuesday, July 28, 2020

Garmin Edge 1000 - power button broken and fixed

I am sure I am not the only one in the universe who experienced the rubber button damaged on Edge 1000 cycling computer. I have used mine since late 2016,  but it is not my only head, and they all share the workload. I would say I used my 520 more than the 1000 over all these years. Well, the Edge 1000 decided to fail first, however, it is only a small fix required.
See the first pic about the damage :

The key part is the rubber which contact the physical button and now I have to re-create the contact point.
Clear up the residual rubber around the physical buttons and ensure there are around 8x5 to 8x6mm open window. 


Next I use a small round shape plastic with diameter of about 7mm and height about 5mm, inserted into the open window and tested to operate the on/off of the unit. It works great. 


Finally, applied glue which is elastic after dry, something like those you use to fix your shoes. Applied around the residual rubber, the gap and slightly over the "new" plastic button. Wait for a complete dry, put back the silicon cover. 
It is done.